I've always been a creative person but during my earlier education never truly got to explore my skills. So to start of i'll show u all what i did in my art and design foundation year in 2008. That course really helped me to get my creativity back.
This is a summary of the 6 projects I did during that year.
LeAving A MArk


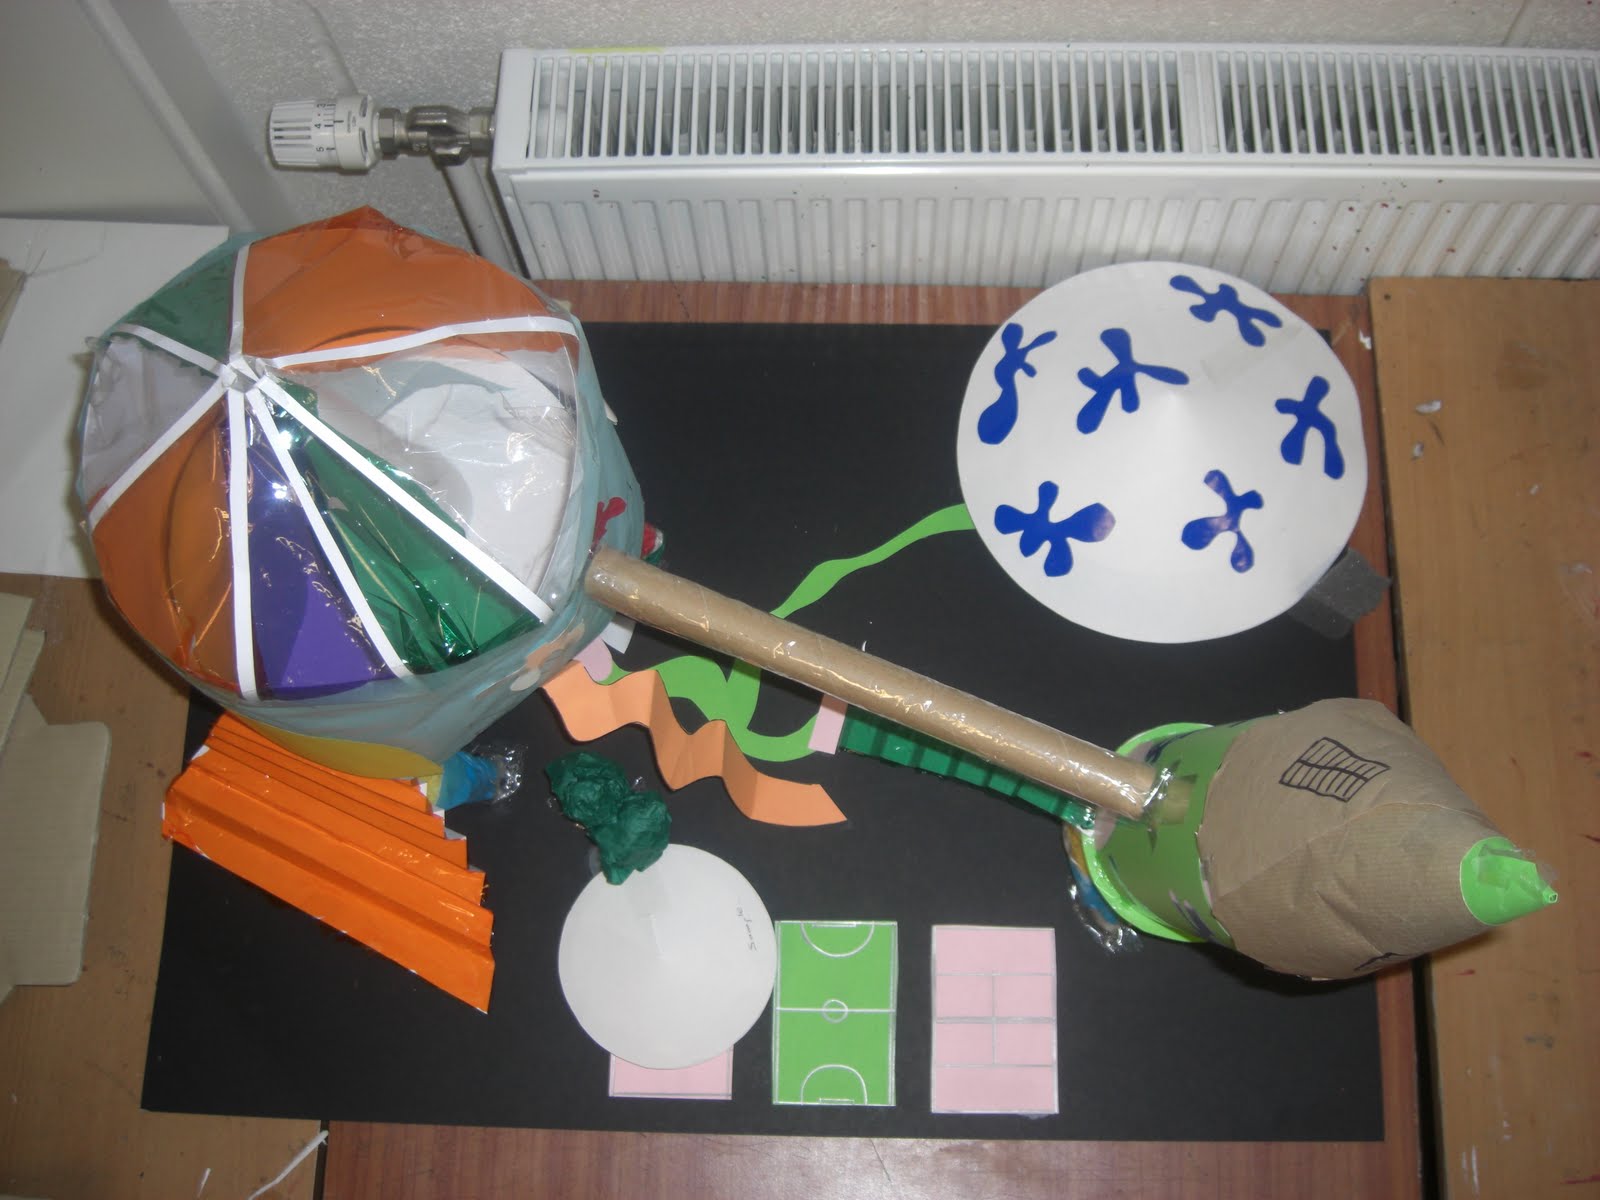
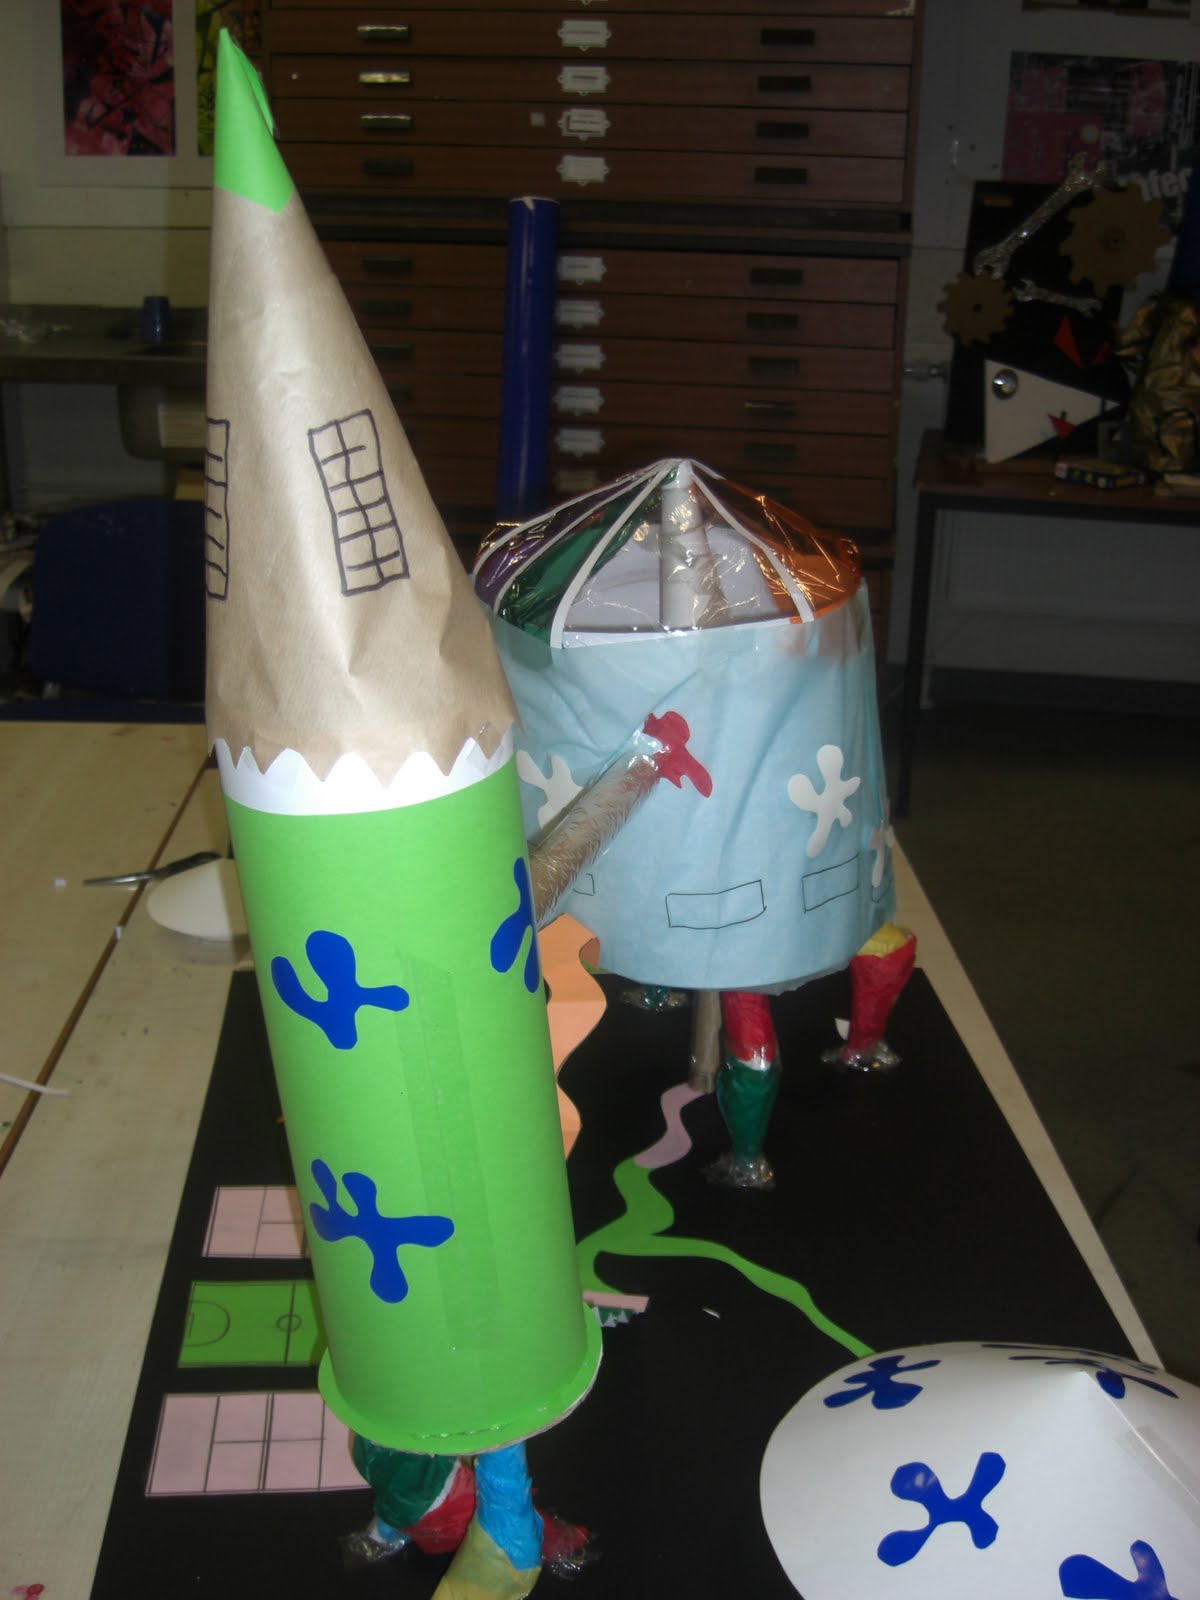
TANTALUS ABSTRACT FLOWER
PRINT MAKING was used to create these designs. This was part of a Natural Form project.

FOREST
The same shape inspired me to do this 3D, sculptural piece

This vibrant background was also printed. This piece is combining both techniques learned.
TexTiles

IN THE MIGHTY JUNGLE
This is an inspirational moodboard that was part of a Textiles project. The hand dyed fabrics, the molded textures, the sewn and painted drawings are all part of my development pieces.
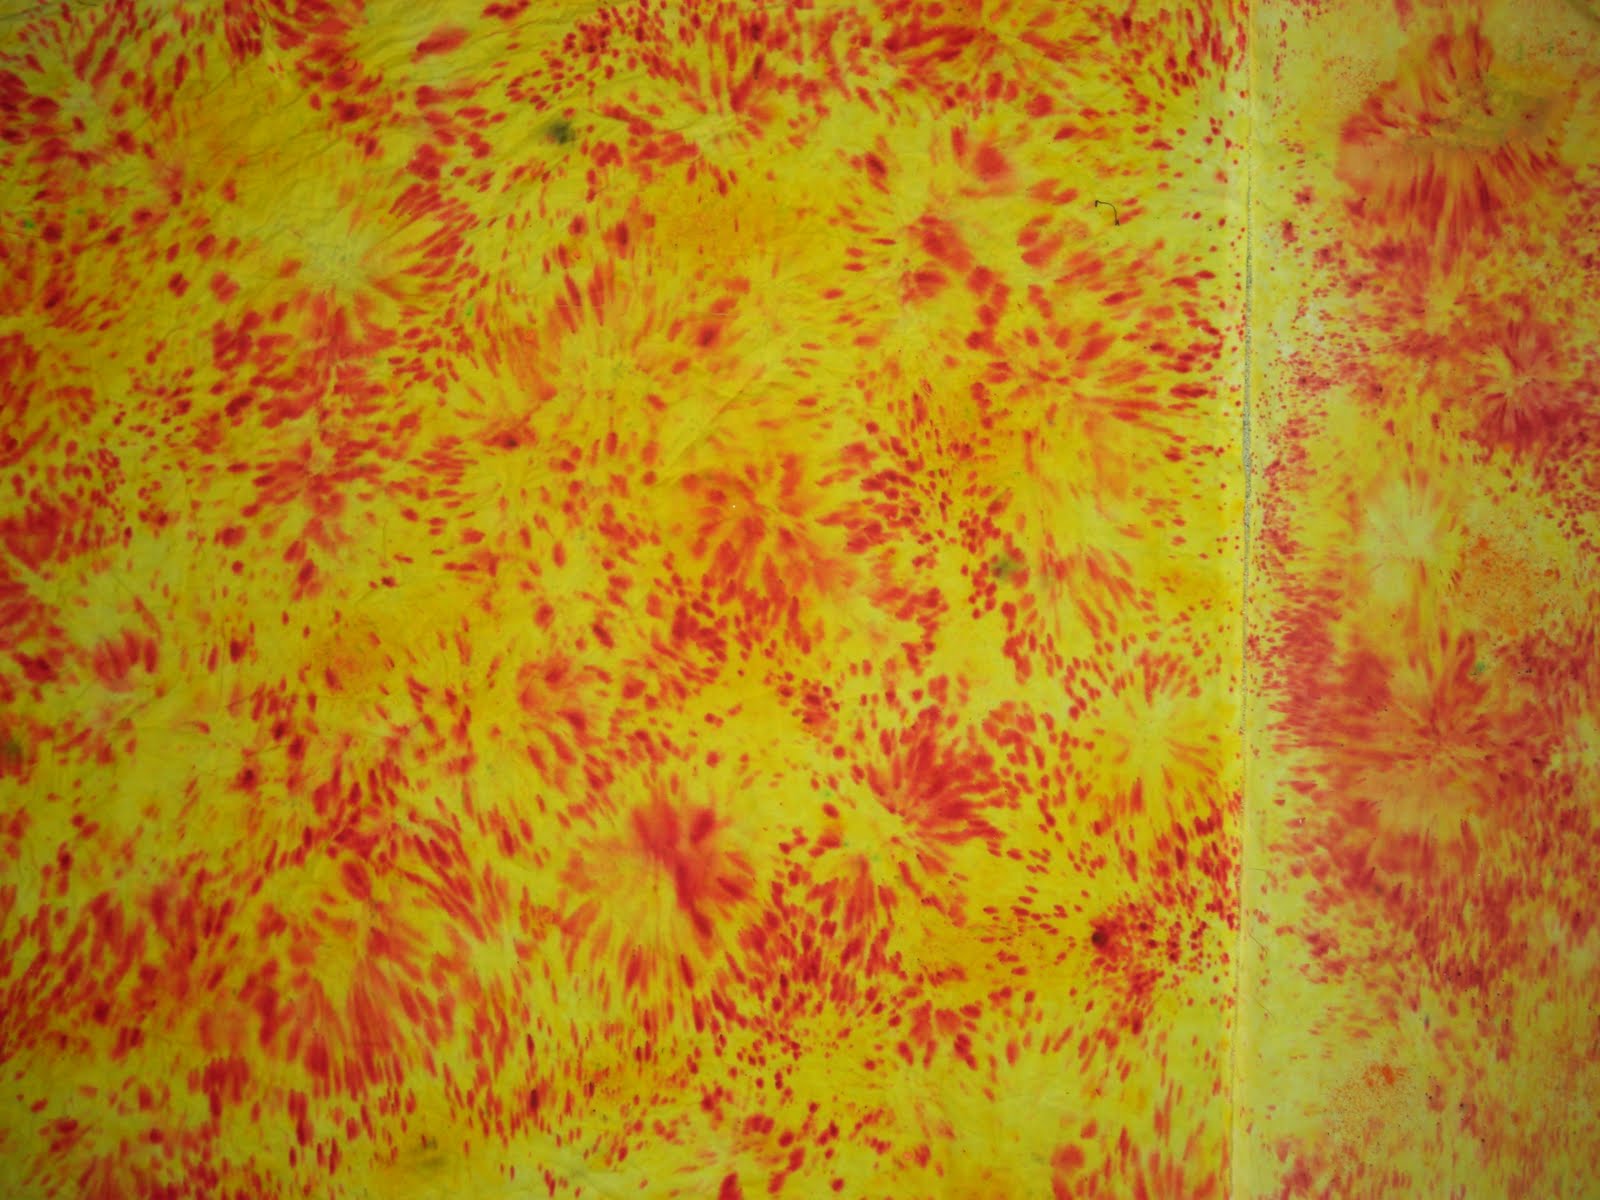
EXPLOSIVE
Yellow dyed fabric sprinkled with red dye and voila the result. I love these 2 colours together and the effect reminds me of fireworks !

I then created my hat frame with chicken wire. That term is sooo funny!


ETHNIC CHAPEAU
This is the final result. These golden decorations took me for ever to make but I am soo proud of them :)
POP & ROLL
So this project was the graphics one. Designing a book cover was the task.
We had to choose between 3 movements.
Pop, Punk or Constructivsm
I chose POP !!

! HOT POP !
As u can see I painted the word itself with delicious SAUSAGES ! :)

!! BISOUS !!
Inspired by Roy Lichtenstein
This took me hours !!! Used a hole pusher to get the dots and then glued them one by one. That's patience baby !
But i'm really happy with the result.

In the workshop I cut out these pieces out of MDF to create this sign !

Poppy colours for this POP sign.

!! OH MARILYN !!
Just like Andy Warhol I manipulated a picture of Miss Monroe. This was all Photoshop.
And there u go ! After many many arrangment and layout I decided this was my final design.

!! COVER ME !!
BuiLdiNG Up
This next part of the year was dissapointing. It went too quickly especially because it was 3D design which was linked to what i wanted to do after the foundation year : Architecture.

We had a one day session where we were told to build a structures only out of NEWPAPER and tape ! Teams were selected and a time limit was set.

This is the result of paper twisting,rolling and bending.

Was a fun session I have 2 admit, never knew paper could be this solid when shaped in a certain way.
Second part of this project was to design a primary school as part of the Manchester regeneration scheme called NEW ISLINGTON.

This is the CHIP in MAnchester from Urban Splash/Alsop
This design project included architects such as Will Alsop and Ian Simpson
So we were set in groups again and here is what my team came up with.
The school complex was made up of a educational block , leisure centre, playground and a concert hall
Again we were only aloud to use coloured paper and tape


On the left was the concert hall and on the right the leisure centre with a cantine, entertainment rooms, gym and a swimming pool.


We decided to connect the education block with the leisure centre with a leveled tunnel :)
And the playground has greenery, basketball and tennis court.
To exit the classrooms , children have the option the stairs or the SLIDE !!
ME MySeLF & I
This project was the first one with the choice of subject. It was a project about ourselves but we could choose if we wanted it to be a 3D design piece, a fashion piece or a fine art piece.
I of course wanted to do a 3D design project. We then had the choice to design our ideal bedroom.

I decided to take my existing room at the time and redesign it to my standards and wishes.


As u can see the room is simple. Rectangular, plain, basic furniture, one window, one door.
Since the project was about oneself. I looked at what i loved, what defines me, who i am as a person.
I analysed my personality.
Funny thing to do by the way.
To summaries myself:
SMILE
CHOCOLATE
FOOD
DANCING
MUSIC
TRAVELING
TENNIS
GOD
COLOURS
MOVIES
SHOPPING
Inspired by mango's from my home country Guinea i designed a pattern.
I looked a recessed lighting in the shape of a cross.
I wanted a waterfall sink because nature is something I got close to in Norway.
I wanted a big closet with mirrors for reflection but also to enlarge the space.

Taking into account that this was my ever first interior design project i was a bit lost as to what to produce.
U can see my ChocoBed in the corner!!! It can be flipped into a sofa. And don't worry it is not made of real chocolate other wise it'll end up with my bit marks on it.
LOL !
This is my also my ever first model !!!!!!!! After hours spent in the workshop. I was sooo proud of myself

.
I used lights, my earrings 4 chandeliers. hehe
Oh and to make it more interesting the recessed light was suppose to change colour to recreate the impression of the northern lights which i want 2 see in real life !!
The wardrobe is intended to have spotlights and metalic storage features where the bubble wrap is used.

I ended up using all sorts of materials and techniques to create the effects i wanted.

Ceramic sink
Printed patterns for wall paper Slate stones

Plan view
The floor is meant to be glass with a golden underlayer. Notice the golden plate. It's the dance floor. It also has spot lights.
Heheh. It is sooo funny too look back at this. I really went all the way and did not care if it was too extravagant, too bright, too bold, to crazy.
This is after all a fantasy room. Forgot to add that I was planning to have a digital wall to have all of my pictures as a big slide show :)
FMP
FinaL MaJoR ProJecT
So this was our last and final project of the year. This was what we wanted it to be as we set our own brief! We had to pass this project to be admitted to Uni. Imagine the stress.
Especially for me. This was a true challenge :)

So after a lot of thinking I decided I wanted to design a
HIP HOP NIGHTCLUB
Primary research was about the hip hop culture and the nightclub scene.

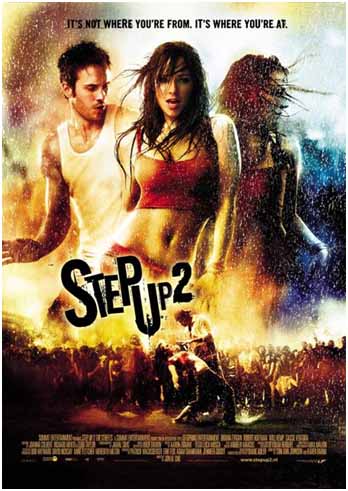
I watch 2 movies Wild Style and Step up 2 the Streets.


This was also an excuse to justify all my clubbing !!! hehe
I was now doing research every time i was out having fun.
Taking pictures of interiors and people and analysing the whole experience of clubbing.
Even read about the history of nightclubs. 
Also went on day visits of the clubs which was a total choc!
Do u have any idea how different a club looks in day time !
Empty ! with no music !
I was surprised by how much a space can change.
I had been in some of this clubs sooooo many times and had never notices the colours of the walls, the fact that there where curtains, what type of flooring used !
Anyway all this things helped me see the different types of spaces and clubs there are.


Recreating a disco ball by hammering nails into a wooden board.

Then came the designing part.From all my research I can up with this crazy idea ! I wanted my club to be a recreation of a street, a NY street as this city was the birth place of graffiti and hip hop.

First attempt of model making for this FMP. Notice the outta proportion lampposts . And can u see the train on the rails ?


If this place was to be a street, it needed to have cars parked. But these cars of course have a function !! LED effect as well as massive sound system in the back ! just like on PIMP MY RIDE !!

This is an attempt at Google Sketch up but trust me a failed one. At the time I knew nothing of this program. Just knew I could try to use to get visuals apart from my drawings which I lack confidence in.

Is this better than the model ? I dunno but it definitely took more time. Hours and hours ! but was quite happy to get these images.

So my design developed in the next couple of weeks. I went into detail with every aspect of the club.
The dance floor (cul-de-sac )
The lighting ( lampposts and spotlights on the pavement )
Brick on the walls like NY buildings
Stairs and balconies
Park benches
The bar ( reclaimed train car)


This train car would be a canvas for graffiti artists. In fact the whole club is a canvas, the walls, the pavement... This club is in my mind a place where the whole of the Hip Hop culture expresses itself, the dancing, the art, the music and the fashion.

Practice makes perfect so here is my second model. In foam this time and more detailed.

By now you might of figured out that I like to complicate things for myself.
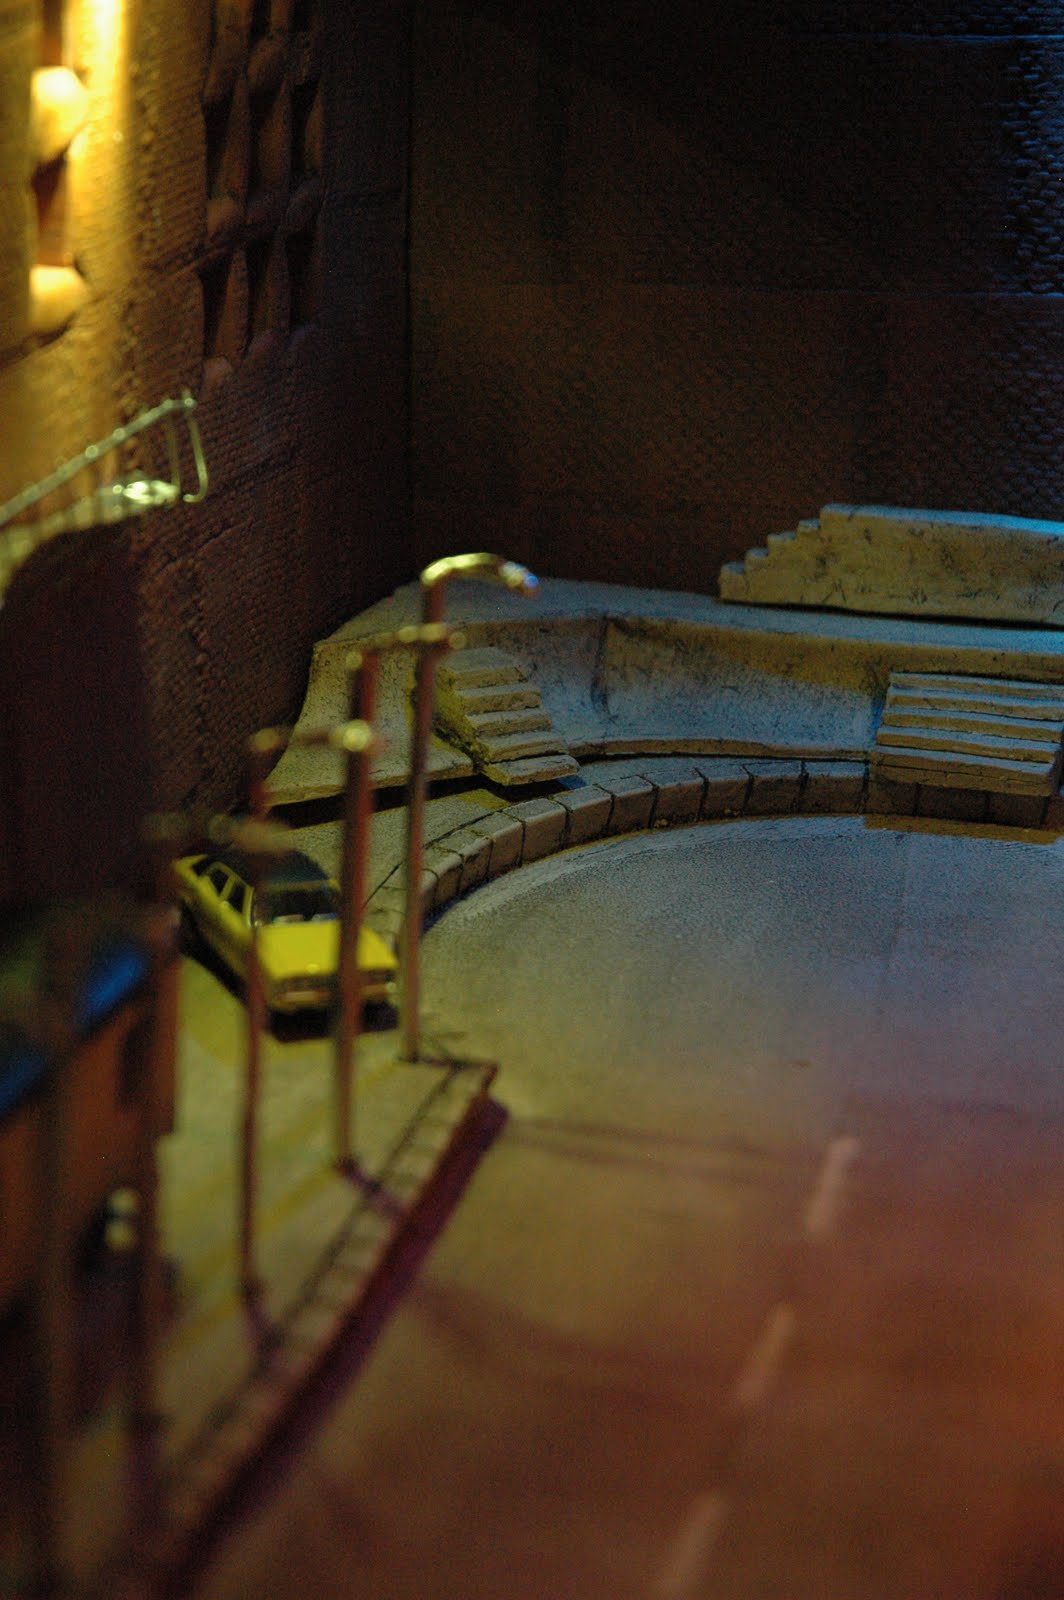
So for my final model I decided that I would make it in CLAY !!!!!!!!
What was I thinking !!
So I had loads of help from our ceramic tutor, Will. Learning how to build walls, create different effect , make sure the structure is stable but also aesthetically pleasant to the eyes. I would never have made it without him :) hehe


Different techniques to create brick effect ! took a while to come up with a final idea of the roller :) Will's idea of course to have the brick at the right scales. That roller is only 5 cm long !
It was the best way to obtain a brick effect.
Making the road using watercolour paint and correction pen for the lines.

The clay is still wet here but each piece is so heavy it stood on its own.


Windows, stairs, pavement and applying the brick effect with the roller were the main challenges :)


After being fired(basically cooked for a day), I had to give it a brush to add enhance the different textures.
Then put it back in the massive oven, the kiln!
I kept praying for this model not to EXPLODE or crack in the kiln as this was a possibility.
So it was time to add all the missing parts to the model.


Et VOILA !!!!


I now had to create my show space for my model to be displayed.
The name of my club is TEMPTATION STREET!hehehe !
It come from one of my favourite quote:
I can resist anything but TEMPTATION!

Spent some time in the workshop again cutting out the letters for the sign.

Then it was time to spray paint! Like a graffiti artist.
And of course not to forget the brick wall.
Ok this took me for ever by the way !!!!
2 full days!! Notice the detail !
The secret to creating your how brick wall is:
masking tape, candle wax, brown spray paint, protective gear and a lot of tissue !
Oh and I forgot, a very strong back!
Bending to apply spray paint for hours is hard work.


Do u like ??? I know I'm proud of the final result !

Also had to provide visuals .
So this is me drawing with a pencil, then using water colours, then scanning, then photoshoping !!
I actually was quite proud of myself . Especially cos I'm not confident at all with my drawing skills.

Now all clubs have special lighting effect so why not mine !!